Here, we see the rovings being fed onto the bump winder to form the centre-pull multi coloured bump.
The resultant bump - notice the different shades
Now for spinning.....
Here is my Country Spinner - fabulous for rug yarn.

I am spinning singles to be later plied to my rug yarn
After I have spun up enough singles, I then ball wind them by hand to be plied Navajo style into my rug yarn.
Navajo Plying can now begin.This is a means of keeping all if the variations of colour nice & separate as it is plied.
By only using the one strand & looping, the colours stay in line & not blended.
Weaving
Now we have the basis of our rug yarn.
Trial pieces will now be woven on my Ashford 8 shaft table loom.
This is done to decide on the correct sett and style of weaving.
The loom is threaded in straight 1,2,3,4 at 4 doubled ends per inch.
I have chosen Basket Weave which is 1,2 then 3,4. I insert the colour at each lift.
Now that I am happy with the trial piece, I can now start winding the warp for the actual rug.
This will be woven on my 8 shaft Sheridan Floor Loom.
Winding the Warp

Winding a linen warp 2.5m long
Onto the LOOM....
Here we have the 4 sets of warp chains ready to thread
Rear view showing spreading the warp
evenly with the lease sticks in place
With the raddle in place, I wind the warp
onto the back beam.
I can now start to thread the heddles
here we have the groups of doubled warp ends
threaded through the heddles and ready to thread
through the reed and tie off to the front beam.
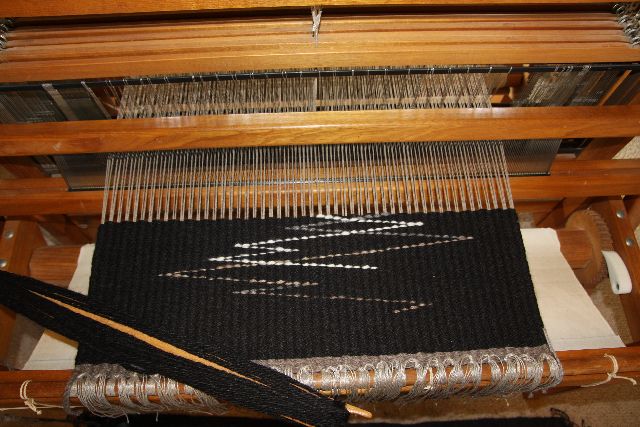
This is the back view of the loom with the warp all threaded and tensioned
Weaving can now begin...
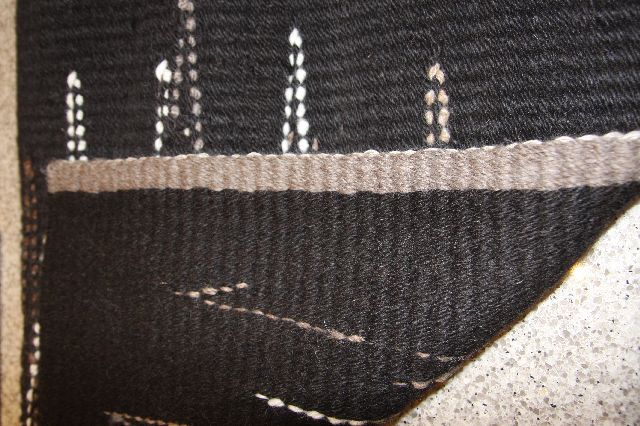
This is the first few inches - note the weft bubbling to avoid draw-in
Also notice the white temple (at rest for the photo) This keeps the edges nice & neat.
We'll see this more later on.
Closeup of the stick shuttle going under the warp ends where the
colour appears
10" so far
All good.
Nice easy weaving
in design-as-you-go
style.
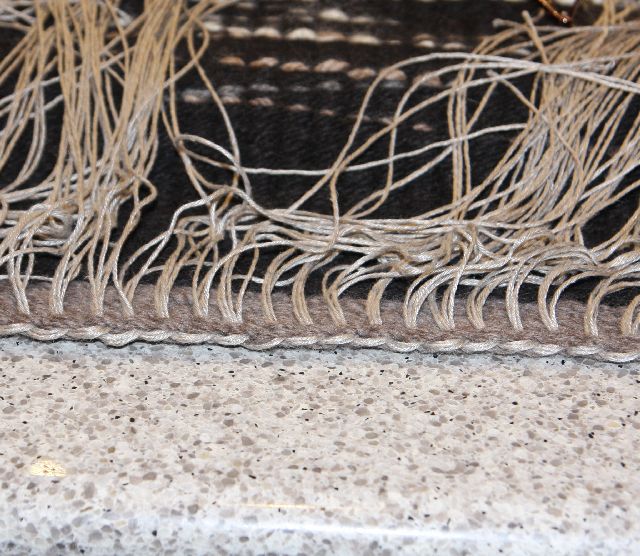
Fast forward in time - its now 28th August 2014
and the rug is now ready to take off the loom and finish the ends off.